📘 Getting Started
Welcome to Clipto
Welcome to Clipto – a modern, responsive link aggregator platform built with Laravel and Bootstrap. Clipto allows you to organize, manage, and share curated links across categories in a clean, mobile-friendly interface.
✨ Key Features:
- 📱 Fully responsive design – optimized for mobile, tablet, and desktop
- 🎨 Modern UI – customizable with themes and CSS variables
- 📂 Category-based organization – manage links under custom categories
- 🔍 Advanced filtering & search – find links quickly
- 👤 User authentication – secure access and management
- 📊 Admin dashboard – complete management panel
- 📥 Bulk import – upload multiple links using CSV files
🛠️ Installation
✅ Prerequisites
Before installing Clipto, ensure you have the following installed:
- PHP 8.2 or higher
- Composer (dependency manager for PHP)
- MySQL 5.7 or higher
- Web Server (Apache/Nginx) or Laravel's built-in server
Step 1: Download and Open the Project
Download the product, extract the files, and then open the project in your preferred IDE (such as VS Code, Cursor, etc.).
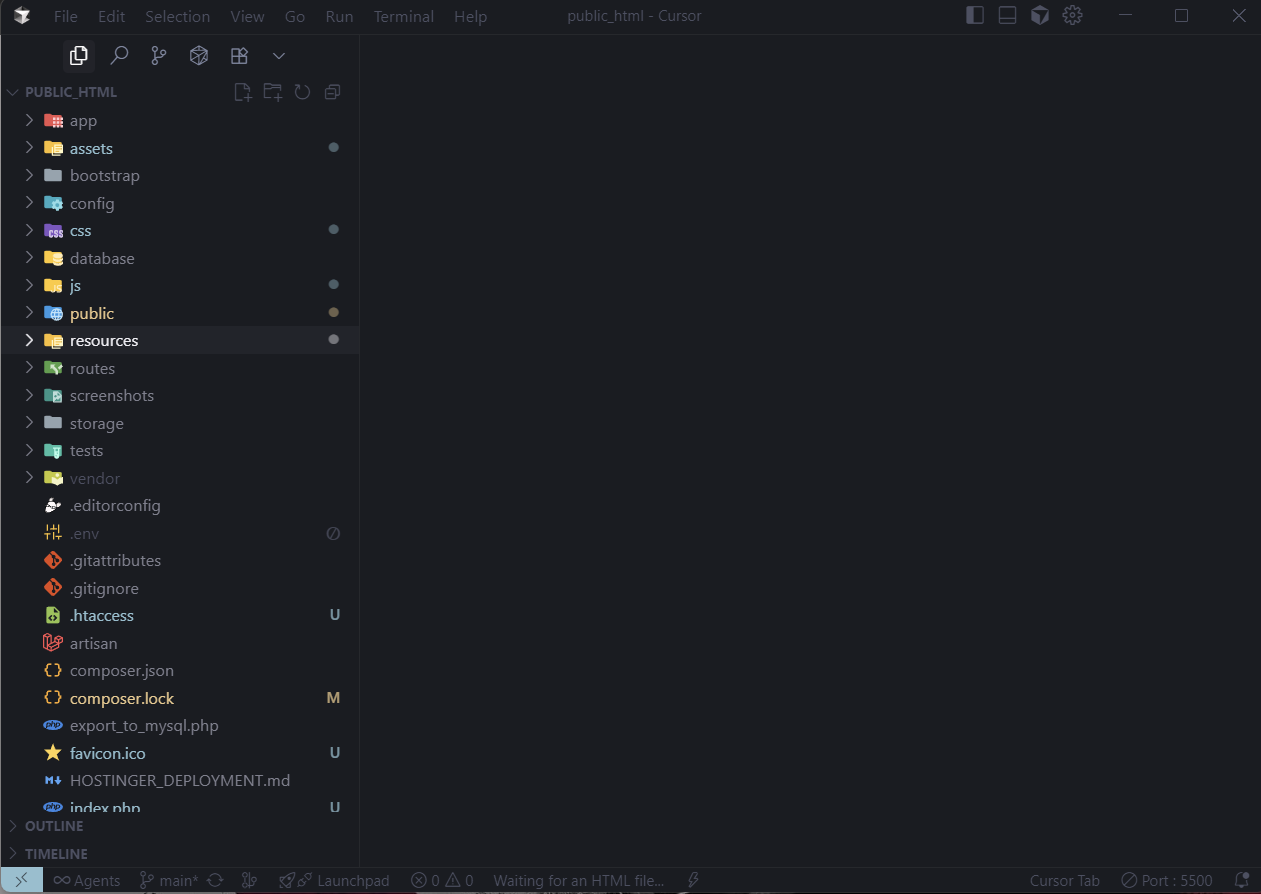
Figure 1: Downloading and opening the project in your IDE
Step 2: Install PHP Dependencies
Install required PHP packages via Composer:
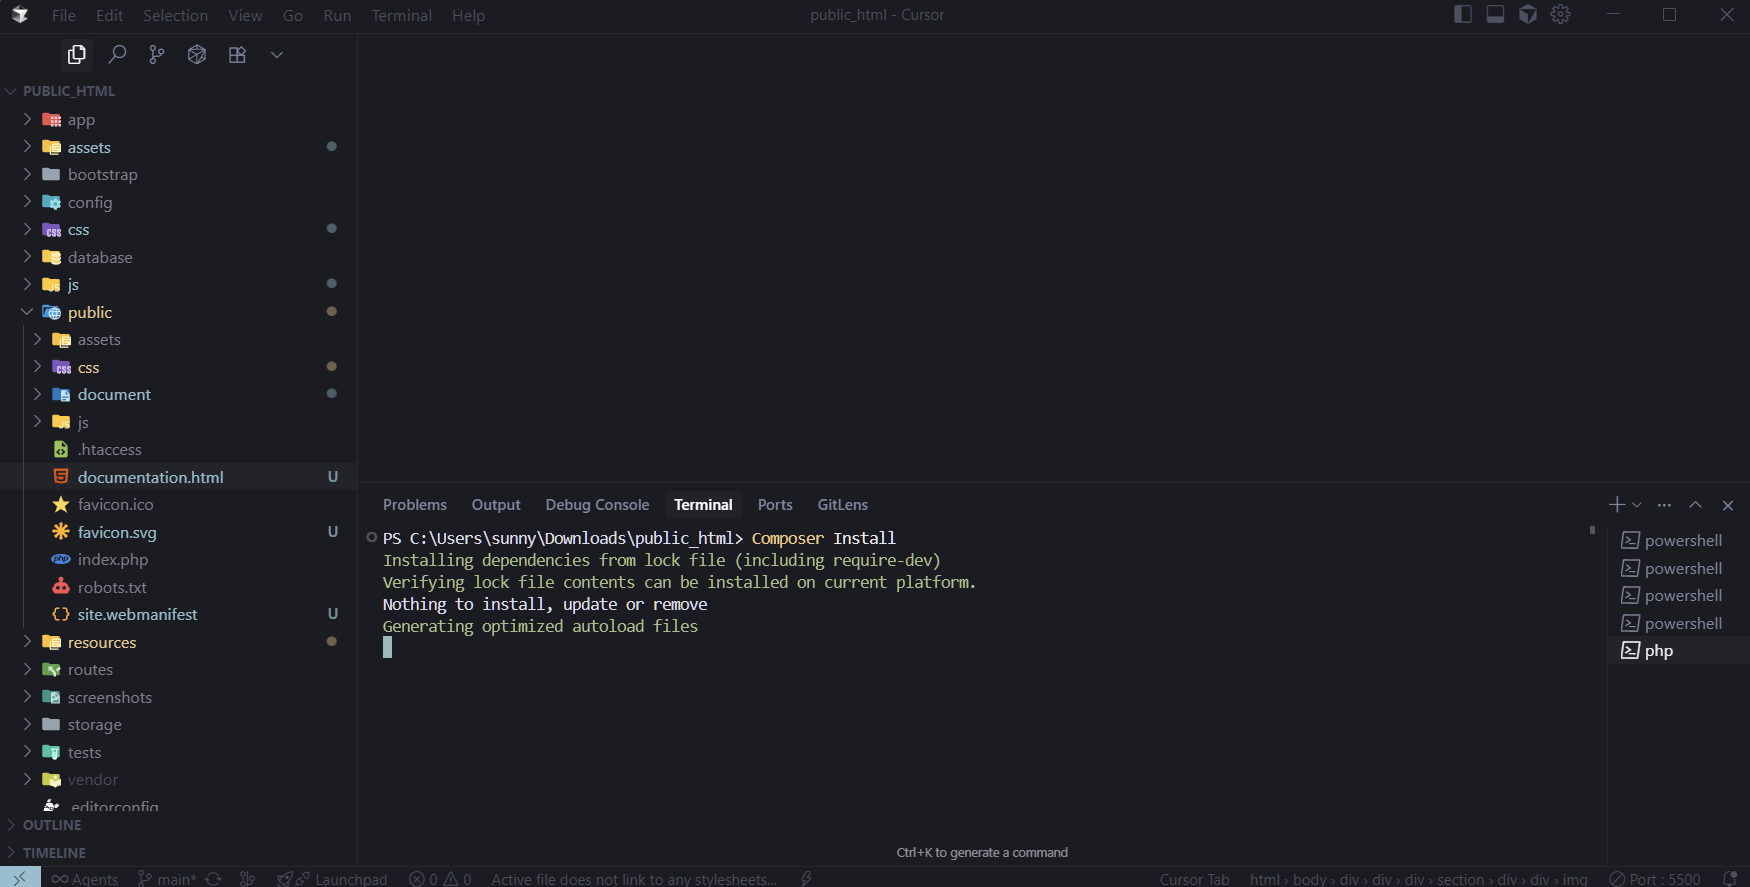
Figure 2: Installing PHP dependencies with Composer
Step 3: Environment Configuration
Copy the example environment file and generate a new app key:
php artisan key:generate
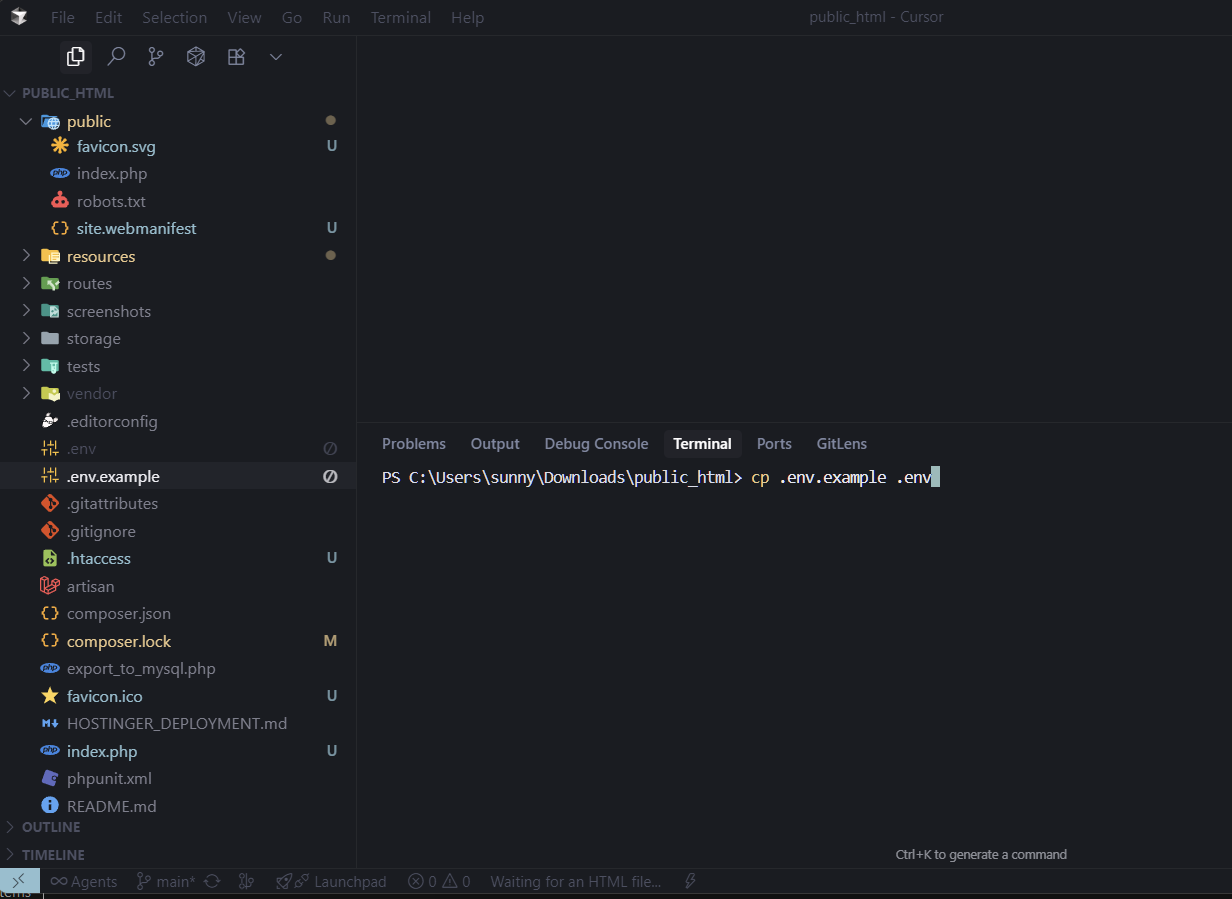
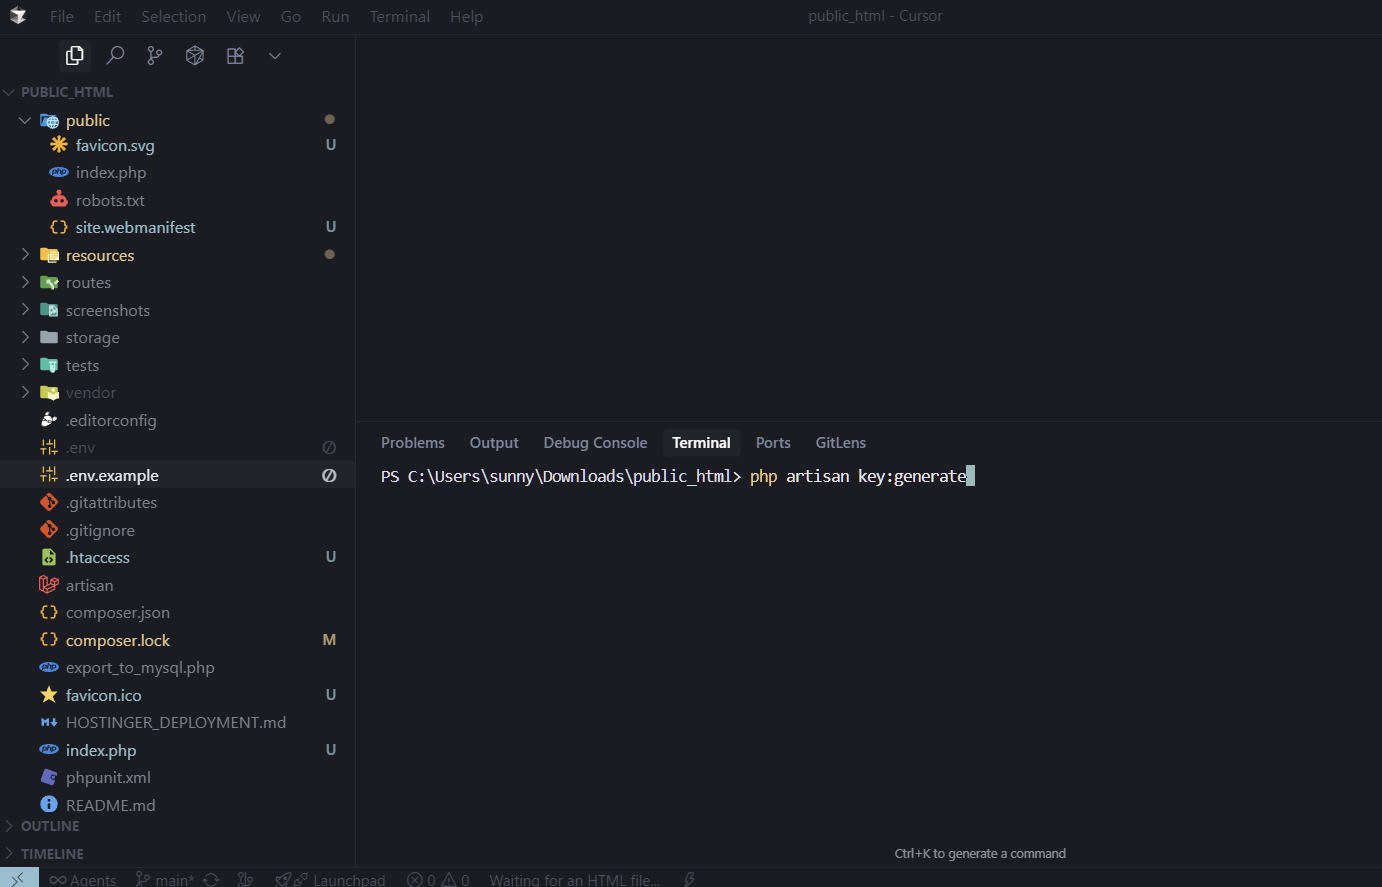
Figure 3: Setting up environment configuration
Now, update your .env file with
database credentials:
DB_HOST=127.0.0.1
DB_PORT=3306
DB_DATABASE=clipto
DB_USERNAME=root
DB_PASSWORD=
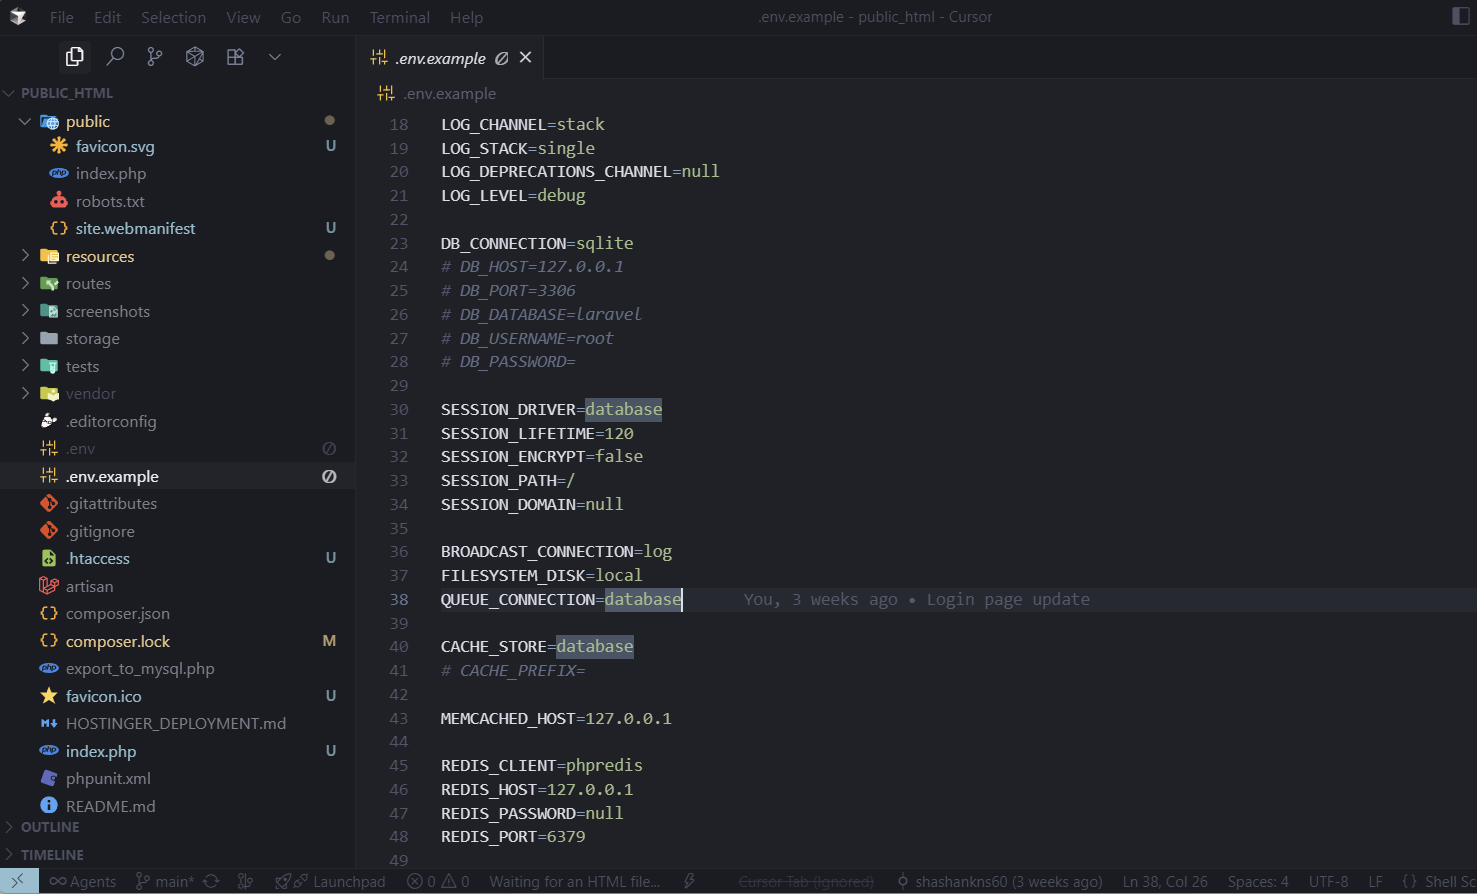
Figure 4: Database configuration in .env file
Step 4: Create Database in phpMyAdmin
Before running migrations, create the database in phpMyAdmin:
- Open phpMyAdmin in your browser (usually
http://localhost/phpmyadmin) - Click on "Databases" tab
- Enter database name:
clipto(same as in your .env file) - Click "Create" button
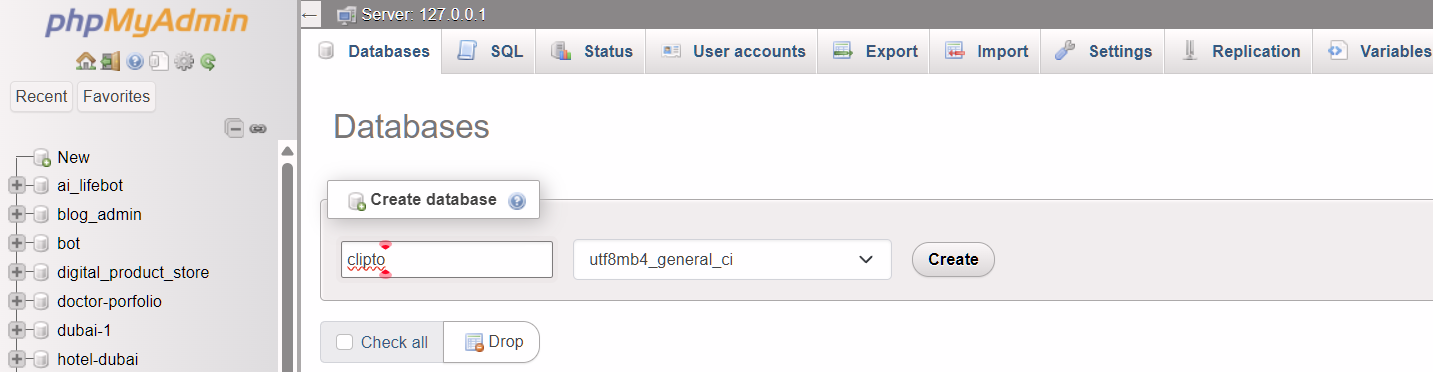
Figure 5: Creating database in phpMyAdmin
Step 5: Database Setup
Run the database migrations and seed the database with initial data:
php artisan db:seed
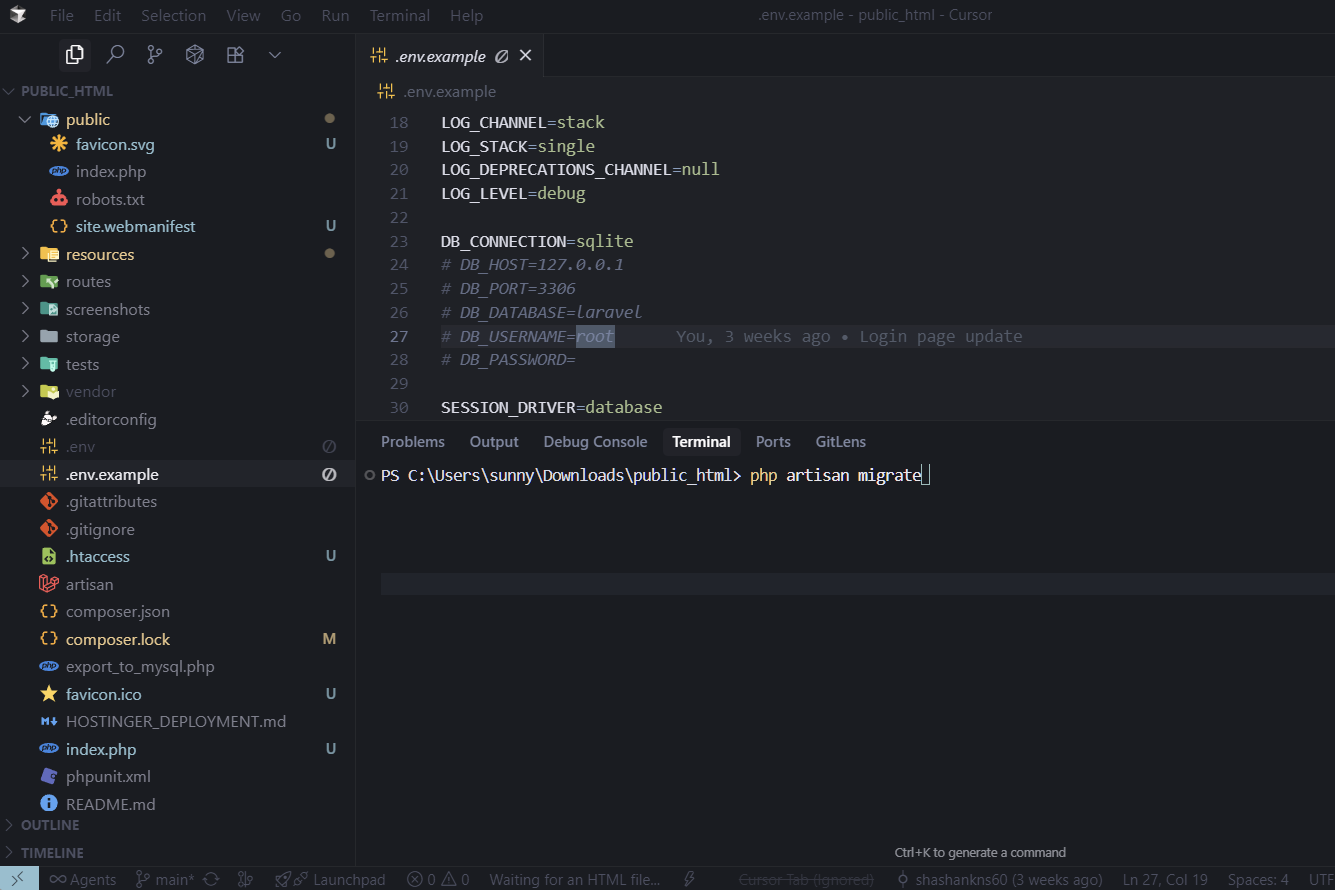
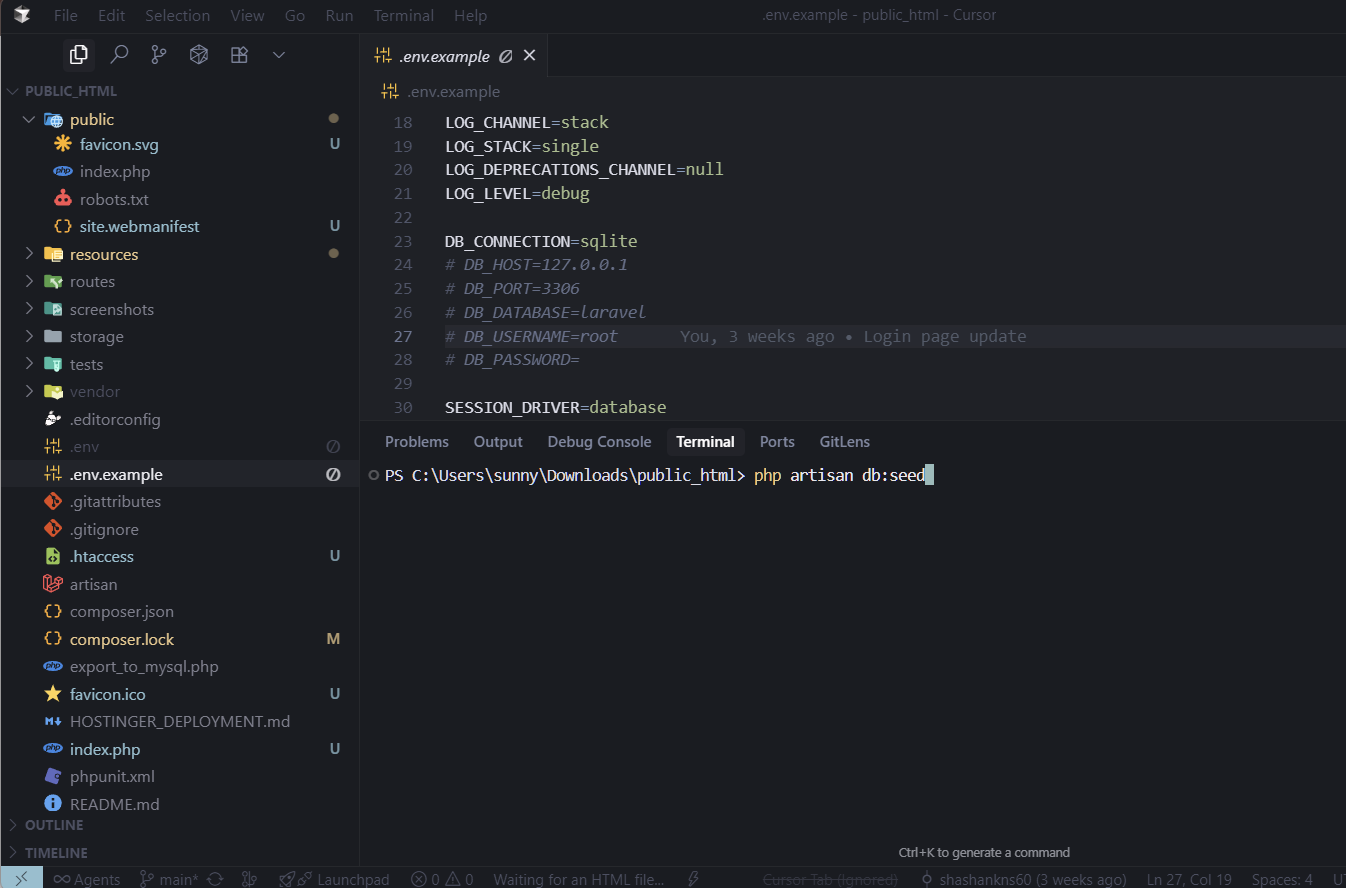
Figure 6: Running database migrations and seeding
Step 6: Start Your Server
Start your web server (Apache/Nginx) or use Laravel's built-in development server:
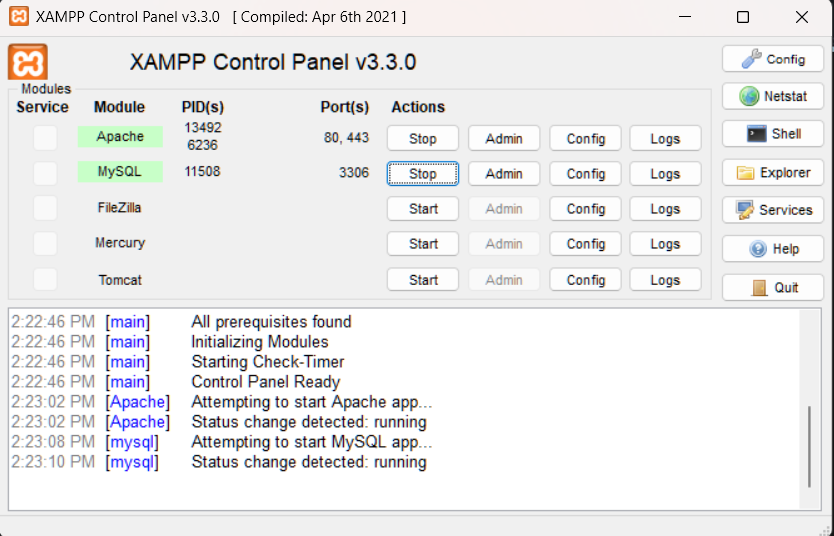
Figure 7: Starting your web server
Step 7: Start the Application
Run the Laravel development server:
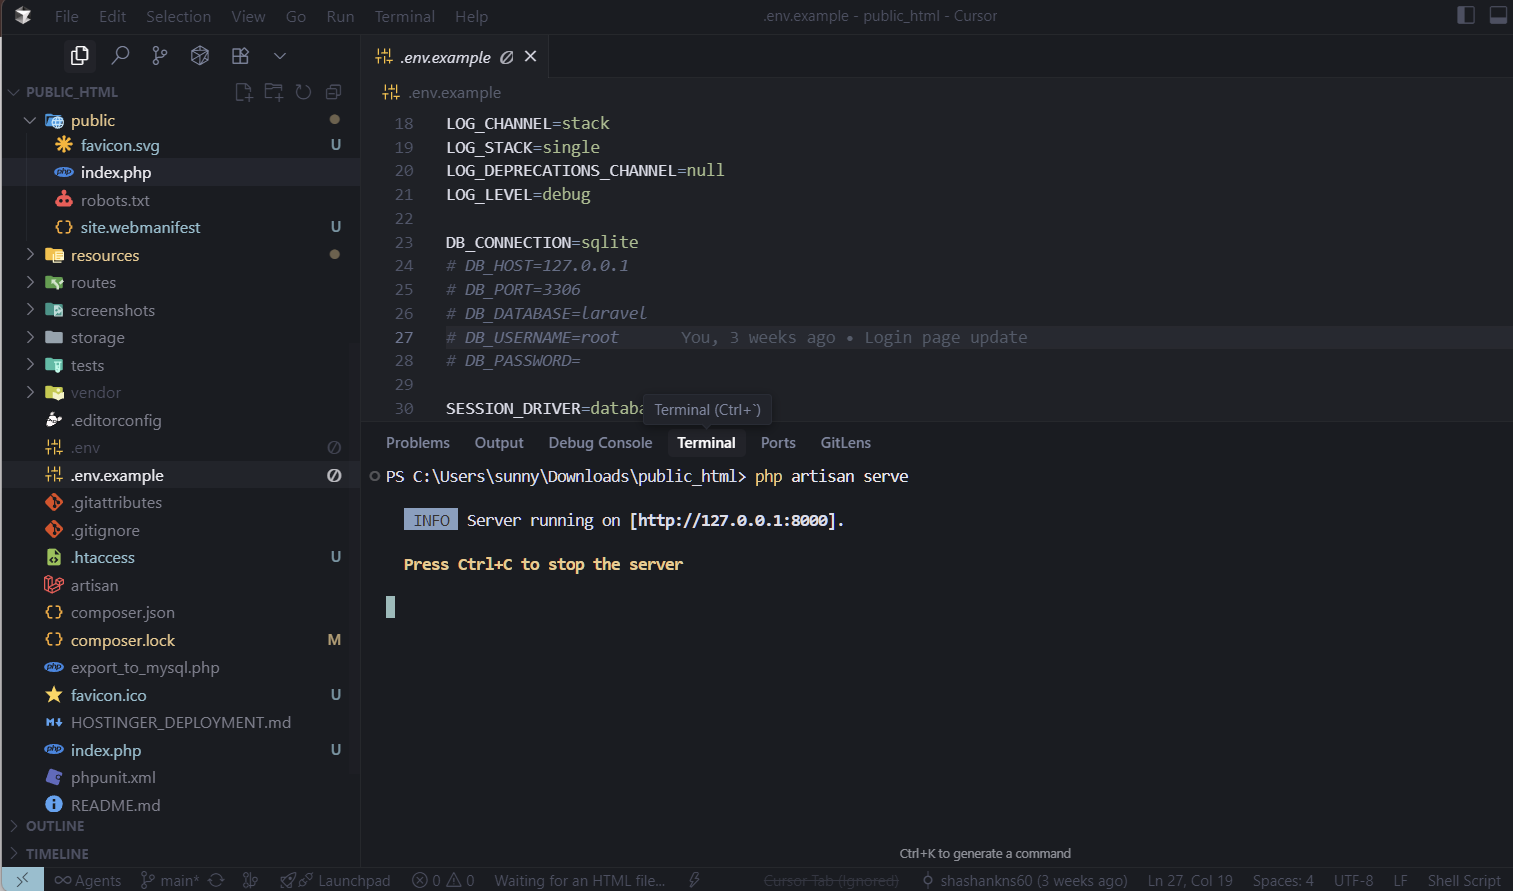
Figure 8: Laravel development server running
Your application will now be available at:
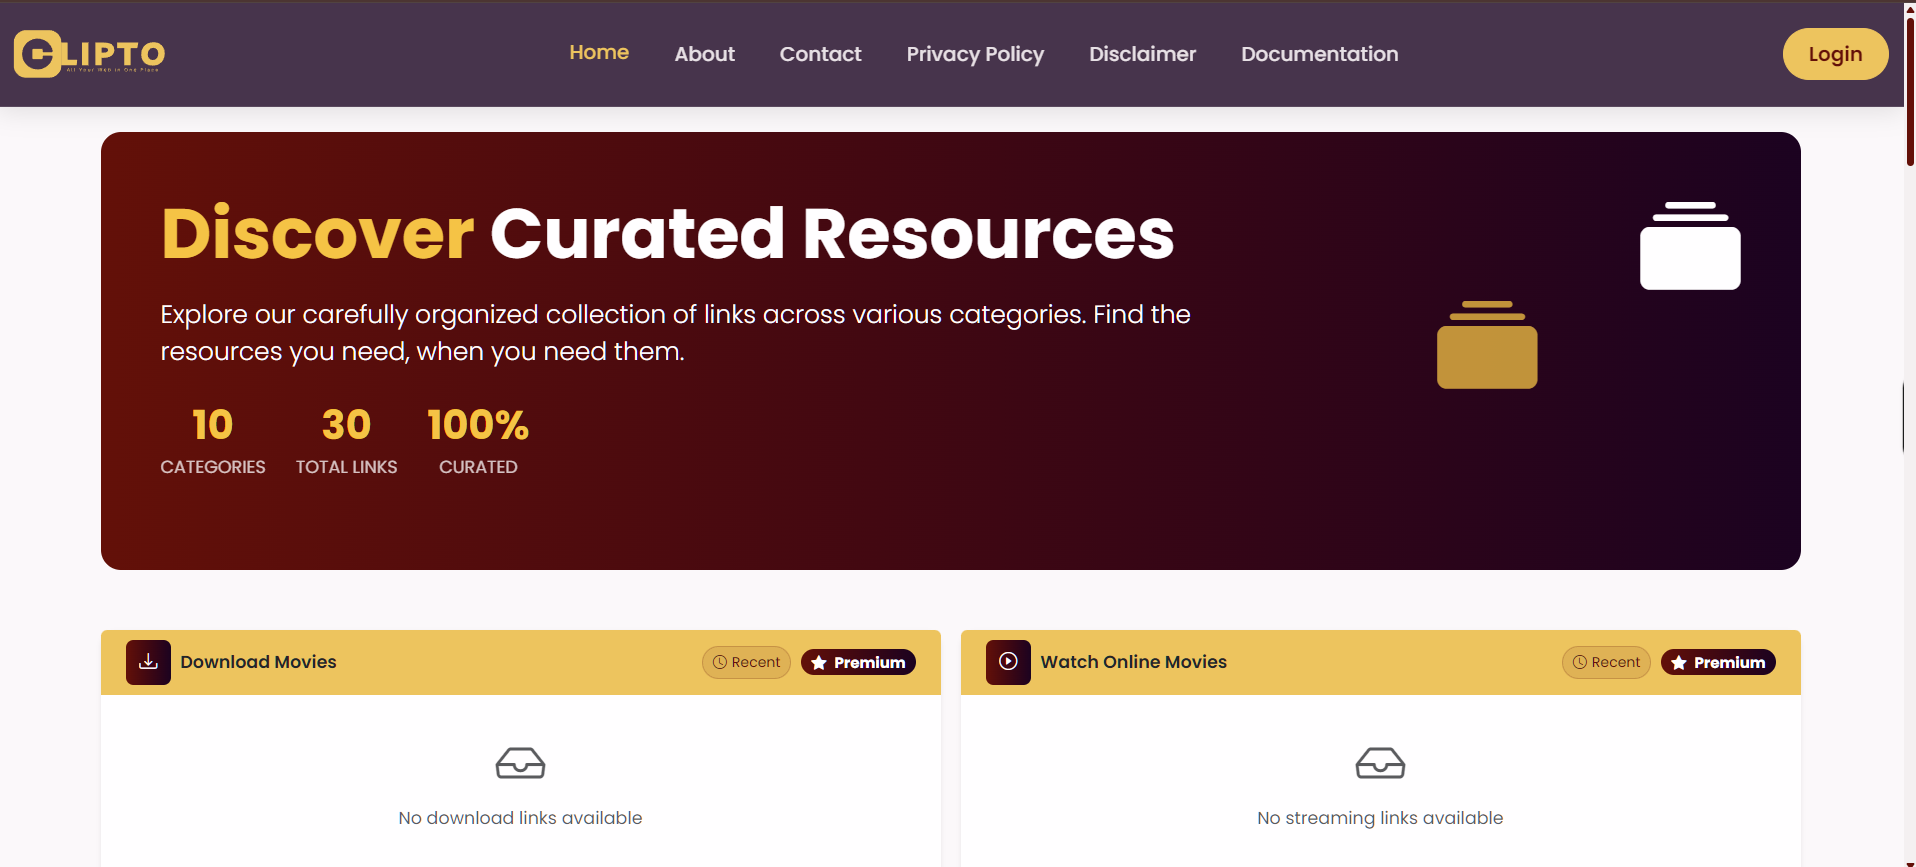
Figure 9: Clipto homepage after successful setup
⚙️ Configuration
Application Settings
Update the .env file for production
use:
APP_ENV=production
APP_DEBUG=false
APP_URL=https://yourdomain.com
Database Settings
DB_HOST=your_host
DB_PORT=3306
DB_DATABASE=your_database
DB_USERNAME=your_username
DB_PASSWORD=your_password
📧 Email Setup (Contact Form)
Configure email settings to enable contact form functionality:
Step 1: Update .env File
Add these email configuration settings to your .env file:
MAIL_MAILER=smtp
MAIL_HOST=smtp.gmail.com
MAIL_PORT=587
MAIL_USERNAME=your-email@gmail.com
MAIL_PASSWORD=your-app-password
MAIL_ENCRYPTION=tls
MAIL_FROM_ADDRESS=your-email@gmail.com
MAIL_FROM_NAME="${APP_NAME}"
Step 2: Gmail Setup (Recommended)
For Gmail SMTP, follow these steps:
- Enable 2-Factor Authentication on your Google account
- Generate App Password:
- Go to Google Account settings
- Security → 2-Step Verification → App passwords
- Generate password for "Mail"
- Use this password in MAIL_PASSWORD
Step 3: Enable Email Sending
Uncomment the email sending code in app/Http/Controllers/ContactController.php:
Mail::send('emails.contact', $data, function ($message) use ($data) {
$message->to('info@yourdomain.com')
->subject('New Contact Form Submission: ' . $data['subject'])
->replyTo($data['email'], $data['name']);
});
Step 4: Create Email Template
Create the email template file:
mkdir resources/views/emails
# Create contact email template
touch resources/views/emails/contact.blade.php
Add this content to resources/views/emails/contact.blade.php:
<p><strong>Name:</strong> {{ $name }}</p>
<p><strong>Email:</strong> {{ $email }}</p>
<p><strong>Phone:</strong> {{ $phone ?? 'Not provided' }}</p>
<p><strong>Inquiry Type:</strong> {{ ucfirst($inquiry_type) }}</p>
<p><strong>Subject:</strong> {{ $subject }}</p>
<p><strong>Message:</strong></p>
<p>{{ $message }}</p>
<hr>
<p><small>Submitted on: {{ $submitted_at }}</small></p>
Step 5: Update Email Addresses
Replace example email addresses with your actual domain:
$message->to('info@yourdomain.com')
# Replace in contact.blade.php
mailto:info@yourdomain.com
mailto:support@yourdomain.com
mailto:feedback@yourdomain.com
# Replace in other files
privacy@yourdomain.com
disclaimer@yourdomain.com
Step 6: Test Email Functionality
Test the contact form:
- Visit your contact page
- Fill out the form with test data
- Submit the form
- Check your email for the notification
- Use Gmail SMTP for reliable delivery
- Always use app passwords, not regular passwords
- Test with different email providers
- Check spam folder if emails don't arrive
- Consider using services like Mailgun or SendGrid for production
📋 Features Overview
🔹 Dashboard
The main dashboard displays categories and curated links in a responsive, card-based layout.
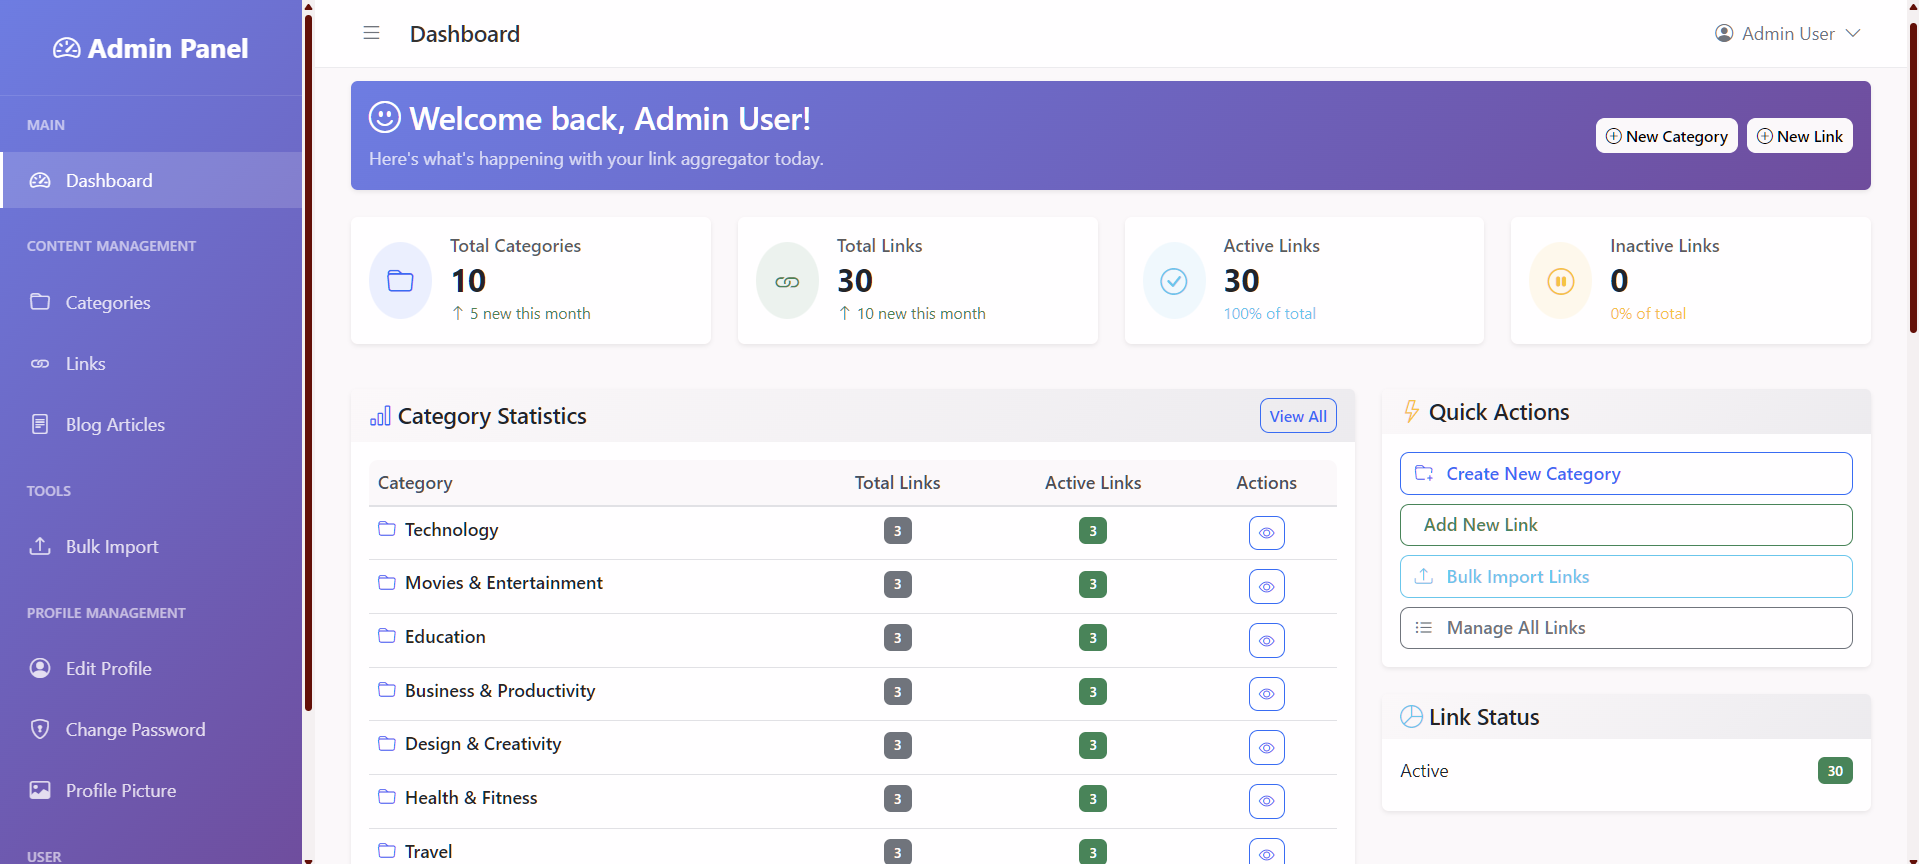
Figure 10: Main dashboard showing categories and links
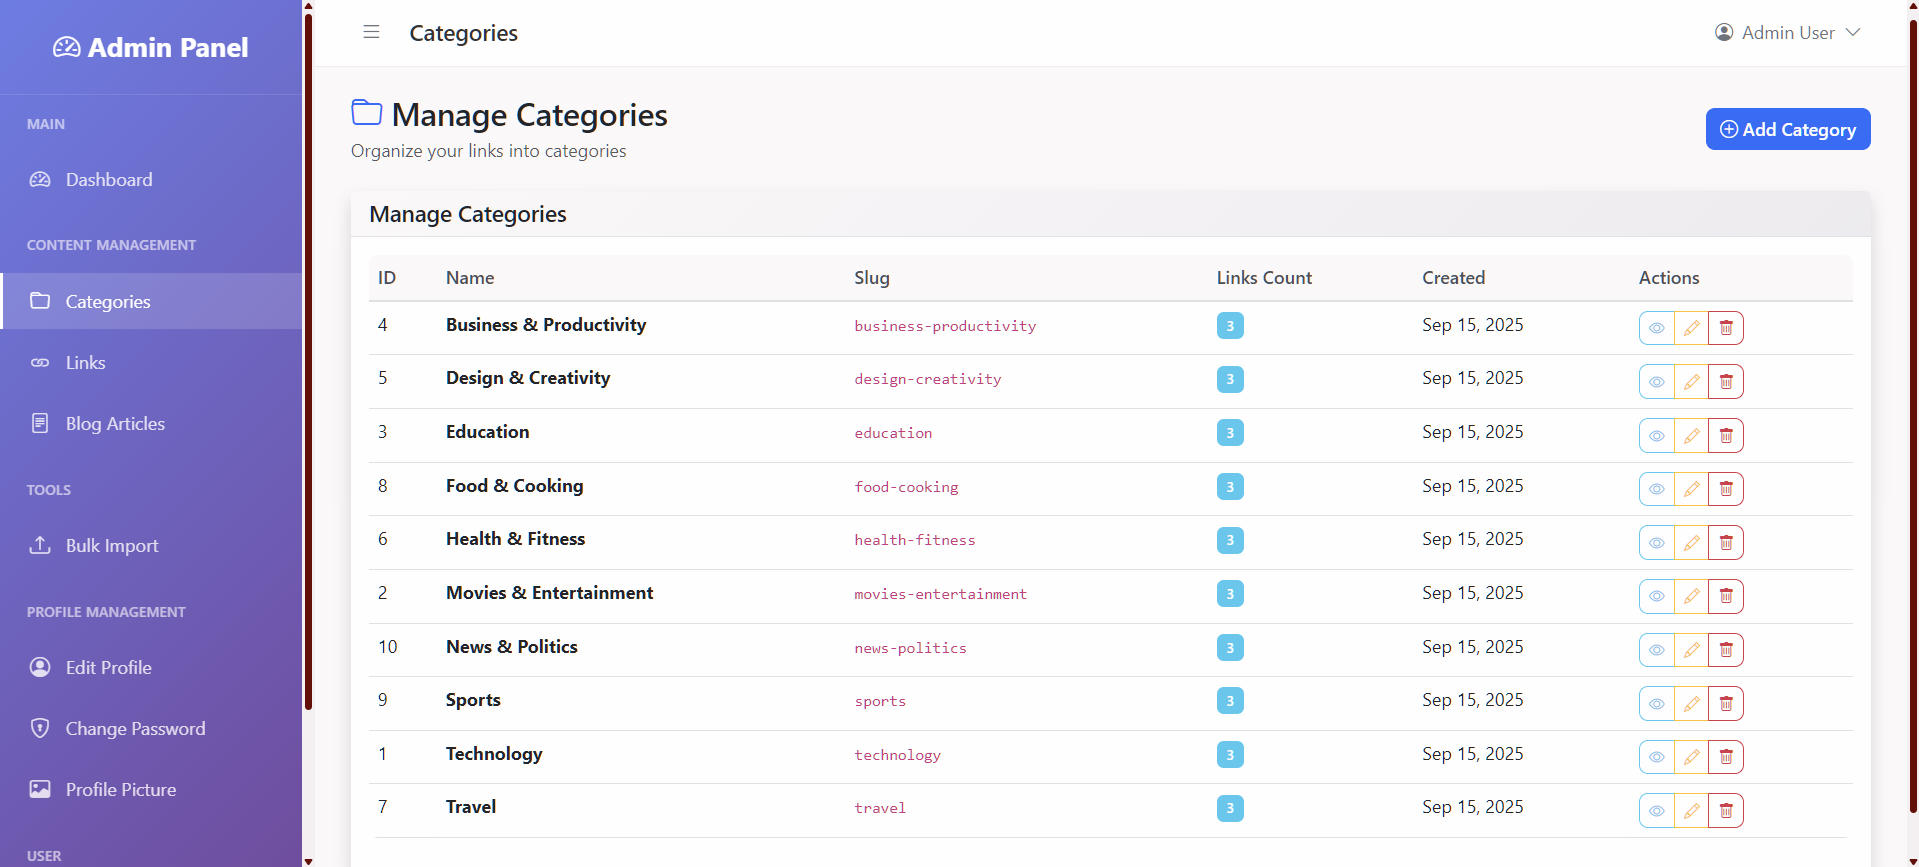
🔹 Category Management
- Create, edit, and delete categories
- Add descriptions and statuses
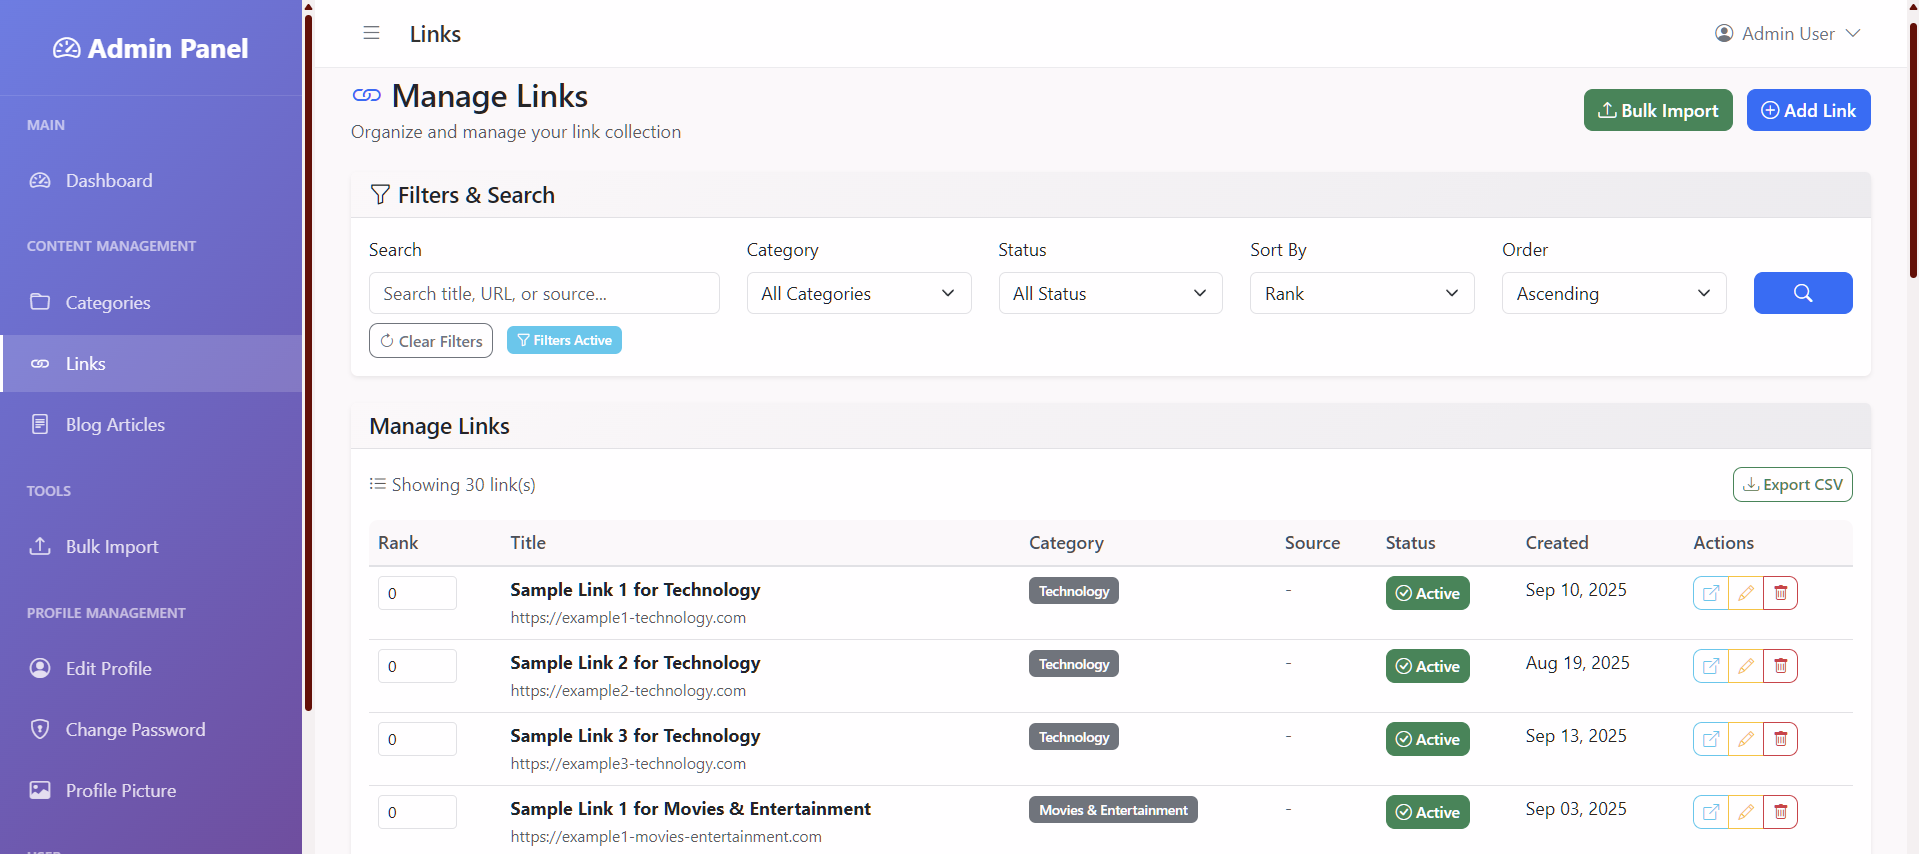
🔹 Link Management
- Add new links with title, description, and ranking
- Edit or delete existing links
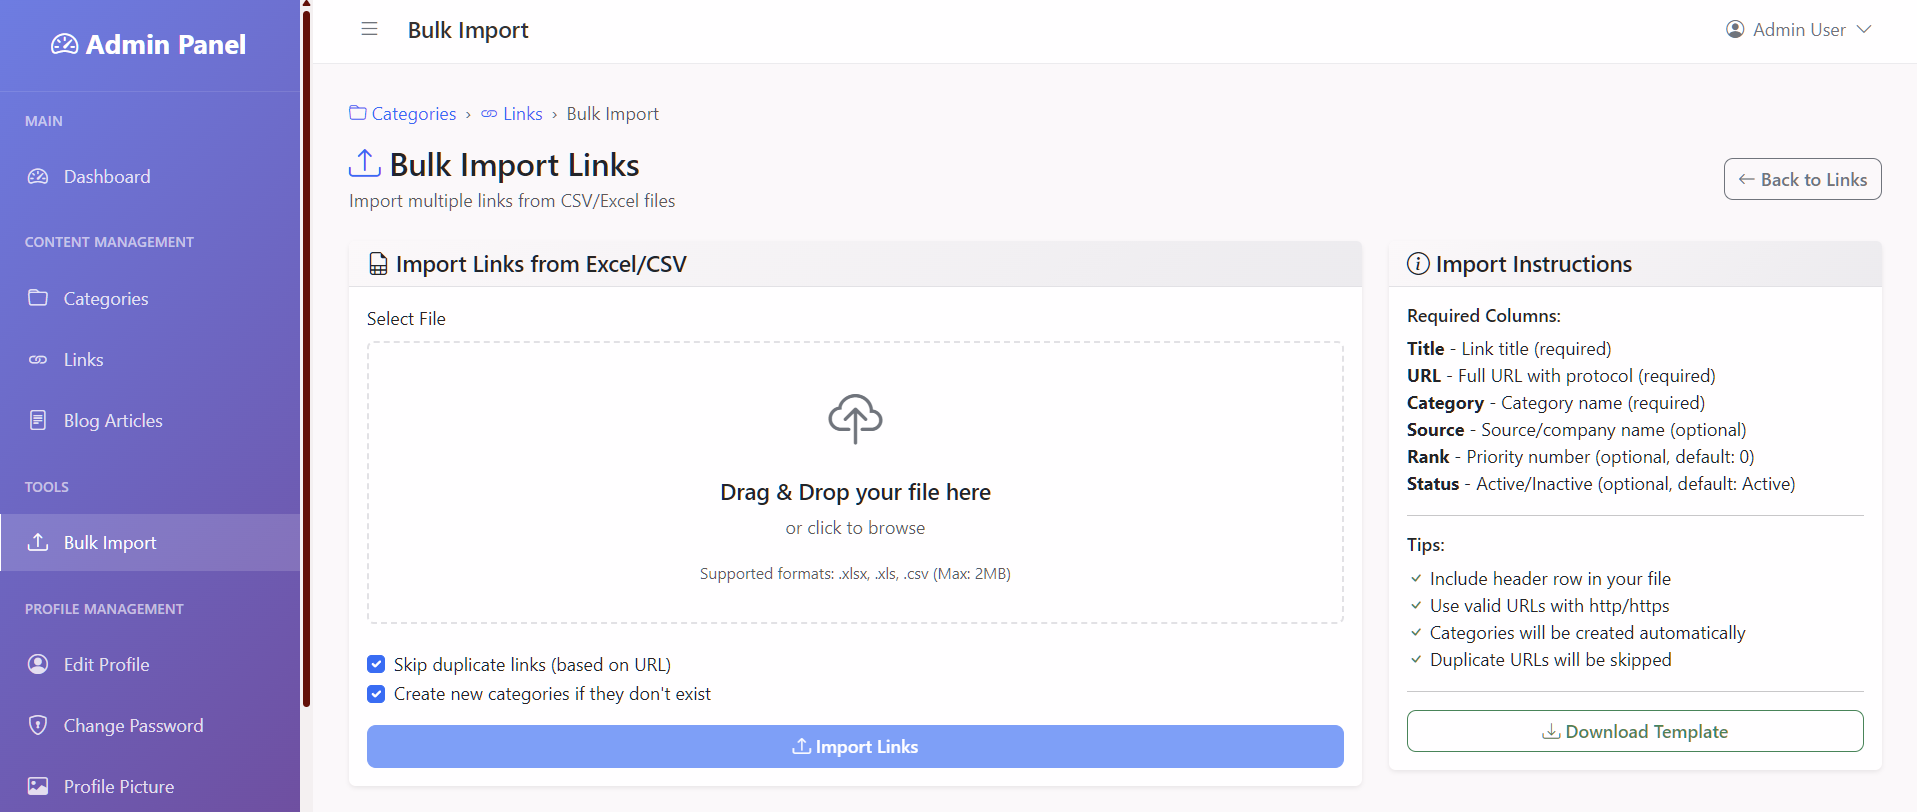
🔹 Bulk Import
Easily import links from CSV files for efficient content management.
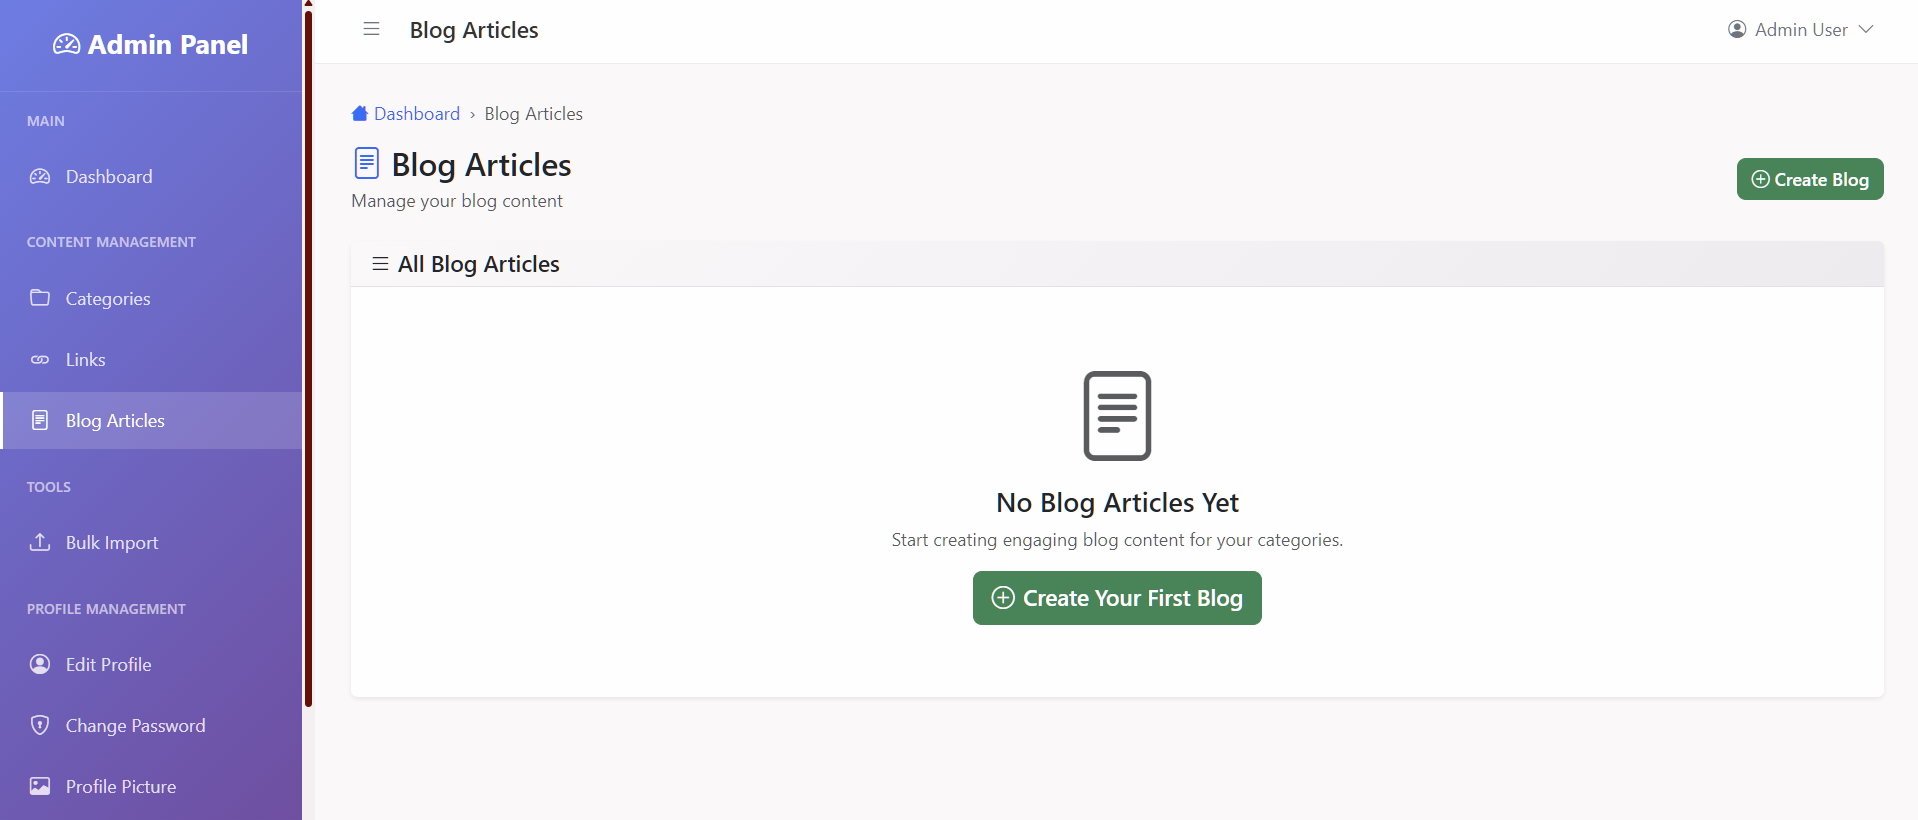
Blog Management
Create Blog articles, Select categories and publish them. Edit and delete blog articles.
🎨 Customization
Theme Customization
Modify CSS variables inside
public/css/custom.css:
--secondary-color: #8b5cf6;
--hero-gradient-start: #6f0000;
--hero-gradient-end: #200122;
--menu-active-color: #f5c345; }
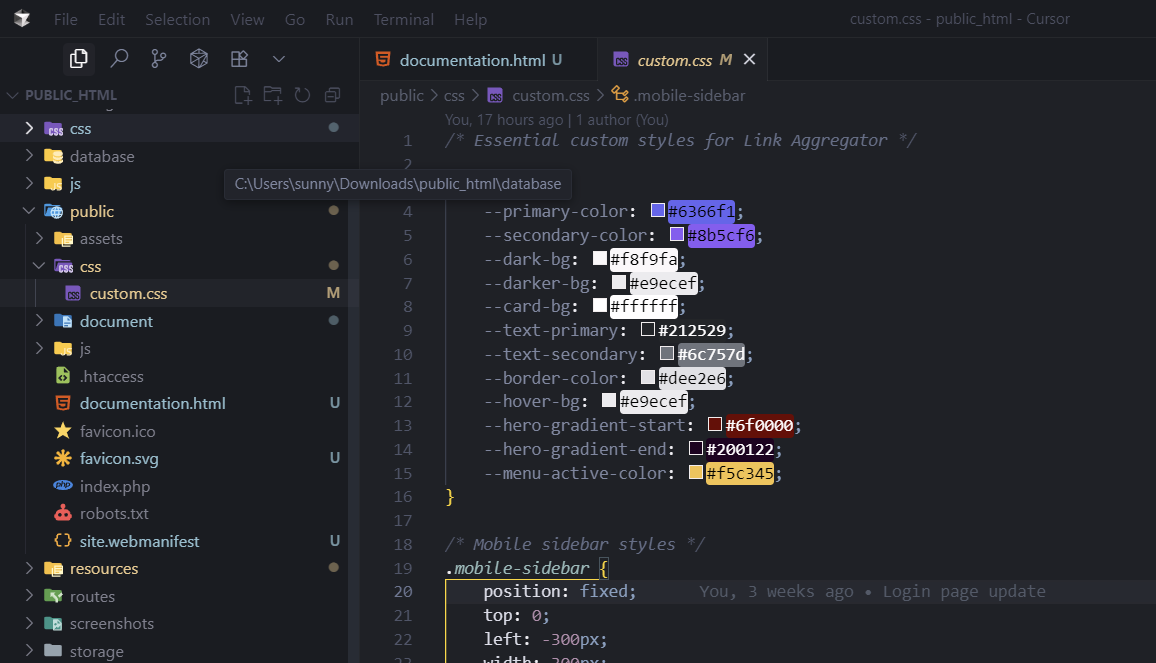
Figure 11: CSS variables for theme customization
Adding Custom Categories via Seeder
Static Assets
-
CSS →
public/css/custom.css -
JavaScript →
public/js/custom.js - Bootstrap → via CDN
- Icons → Bootstrap Icons via CDN
No npm/webpack required ✔️
📱 Mobile Responsiveness
Built with Bootstrap 5 for:
- Mobile-first layouts
- Responsive navigation
- Touch-friendly design
- Landscape optimization
🐞 Troubleshooting
Database Connection Error
-
Check
.envdatabase credentials - Clear config/cache:
php artisan cache:clear
Permission Issues
Ensure correct permissions:
Asset Issues
If assets don't load:
📧 Email Issues
Common email problems and solutions:
Problem: Emails not sending
- Check .env configuration: Verify all MAIL_* settings
- Gmail App Password: Use app password, not regular password
- 2FA Enabled: Must have 2-factor authentication enabled
- Check logs:
tail -f storage/logs/laravel.log
Problem: "Connection could not be established"
MAIL_HOST=smtp.gmail.com
MAIL_PORT=587
MAIL_ENCRYPTION=tls
# Or try port 465 with SSL
MAIL_PORT=465
MAIL_ENCRYPTION=ssl
Problem: "Authentication failed"
- Verify Gmail username and app password
- Check if "Less secure app access" is enabled (not recommended)
- Use app-specific password instead
Problem: Emails going to spam
- Use proper FROM address (same domain)
- Add SPF record to DNS
- Consider using professional email services
Test Email Configuration
php artisan tinker
# In tinker, run:
Mail::raw('Test email', function($message) {
$message->to('your-email@example.com')
->subject('Test Email');
});
- Never use regular Gmail password in production
- Always use app-specific passwords
- Test email functionality before going live
- Consider using services like Mailgun for production
🤝 Contributing
We welcome contributions!
- Fork the repository
- Create a feature branch
- Make your changes
- Submit a pull request